
Since $AVAXAI currently supports BSC and AVAX, our team has created a bridge to allow users to seamlessly move their assets across both networks.
Official Bridge Link: https://app.avaxai.org/bridge
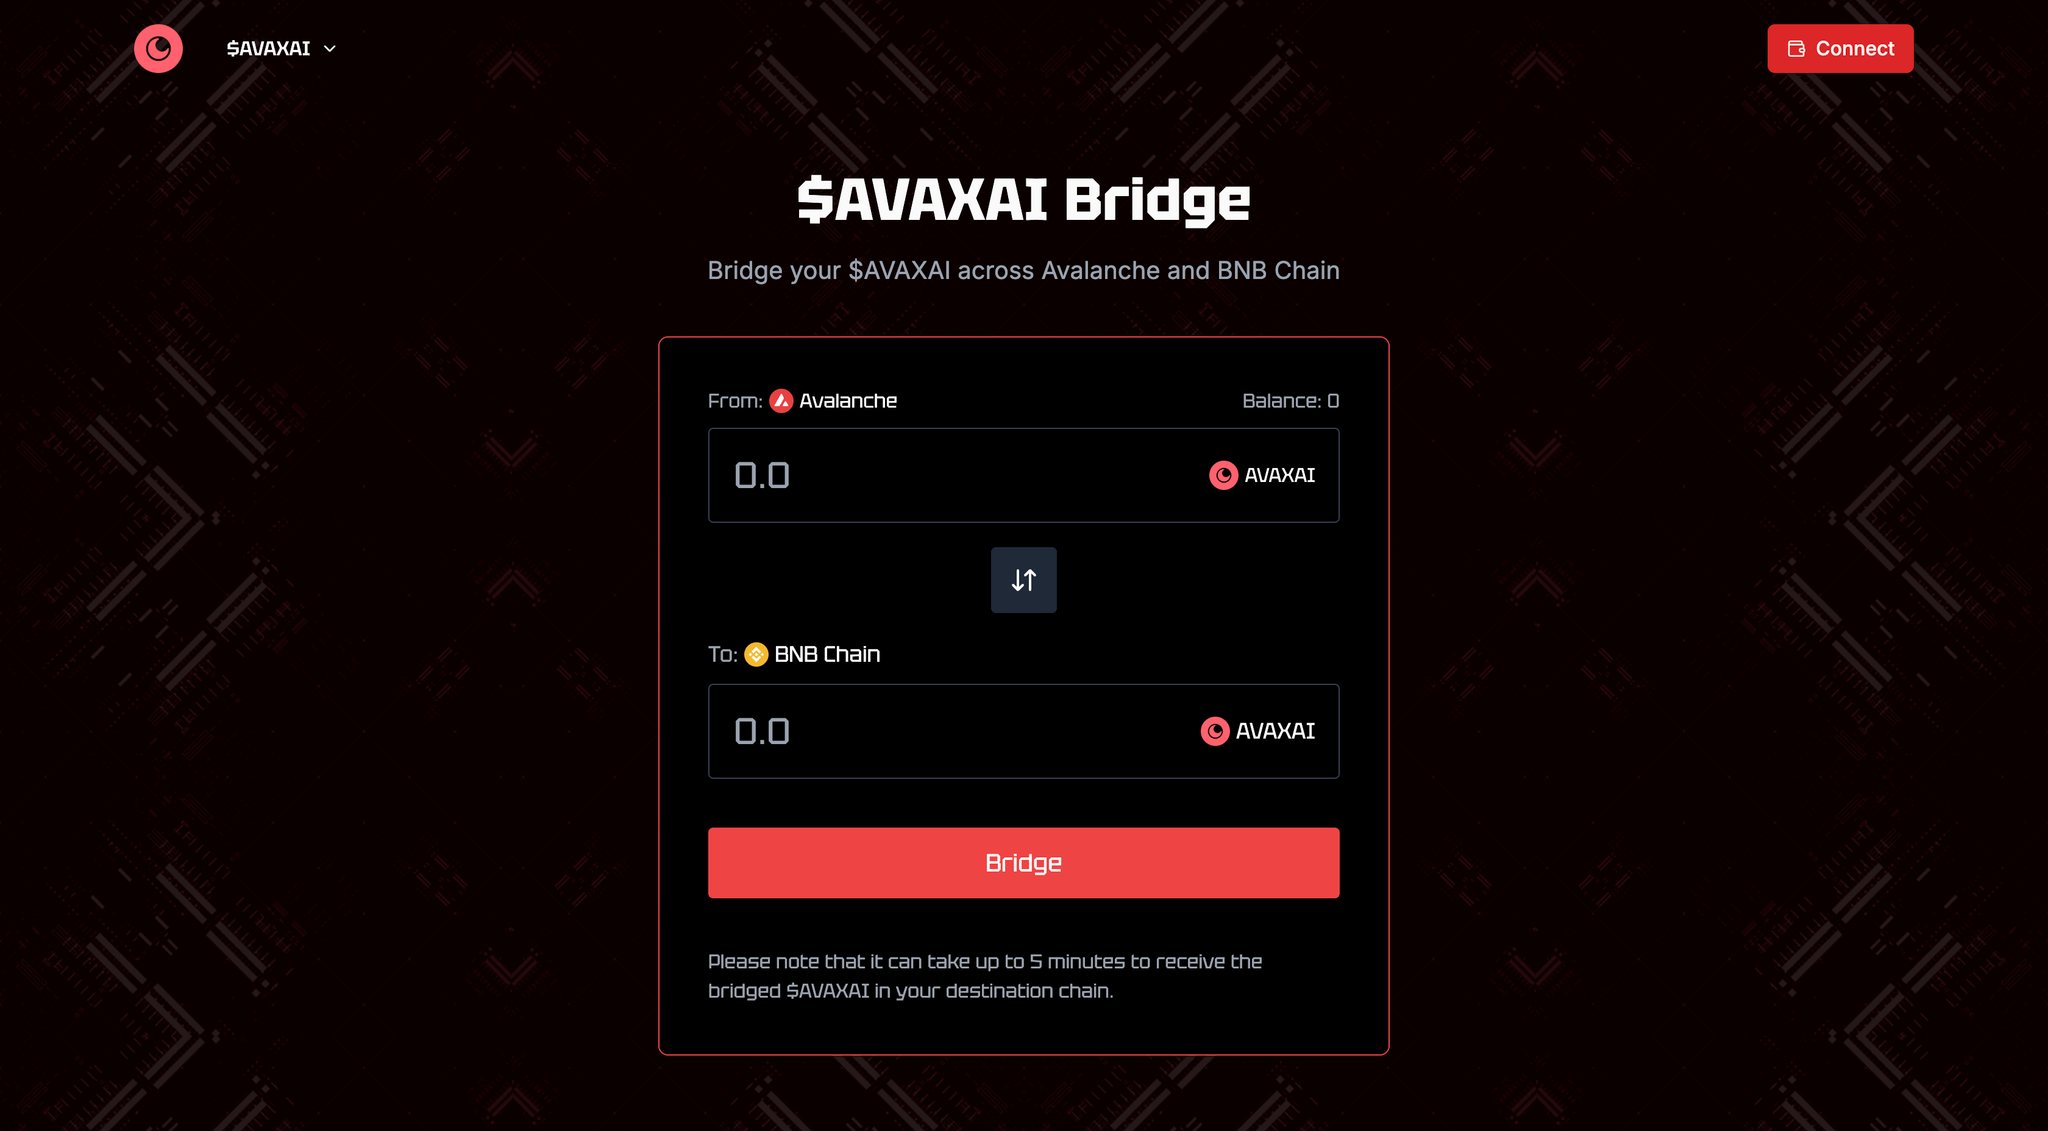
Step 1: Visiting the official bridging page
Please use the official link above to access our bridge. Avoid any unofficial links, as they may be fraudulent. Stay vigilant against impersonation attempts.
Step 2: Connecting your wallet
Press connect wallet at the top of the screen.
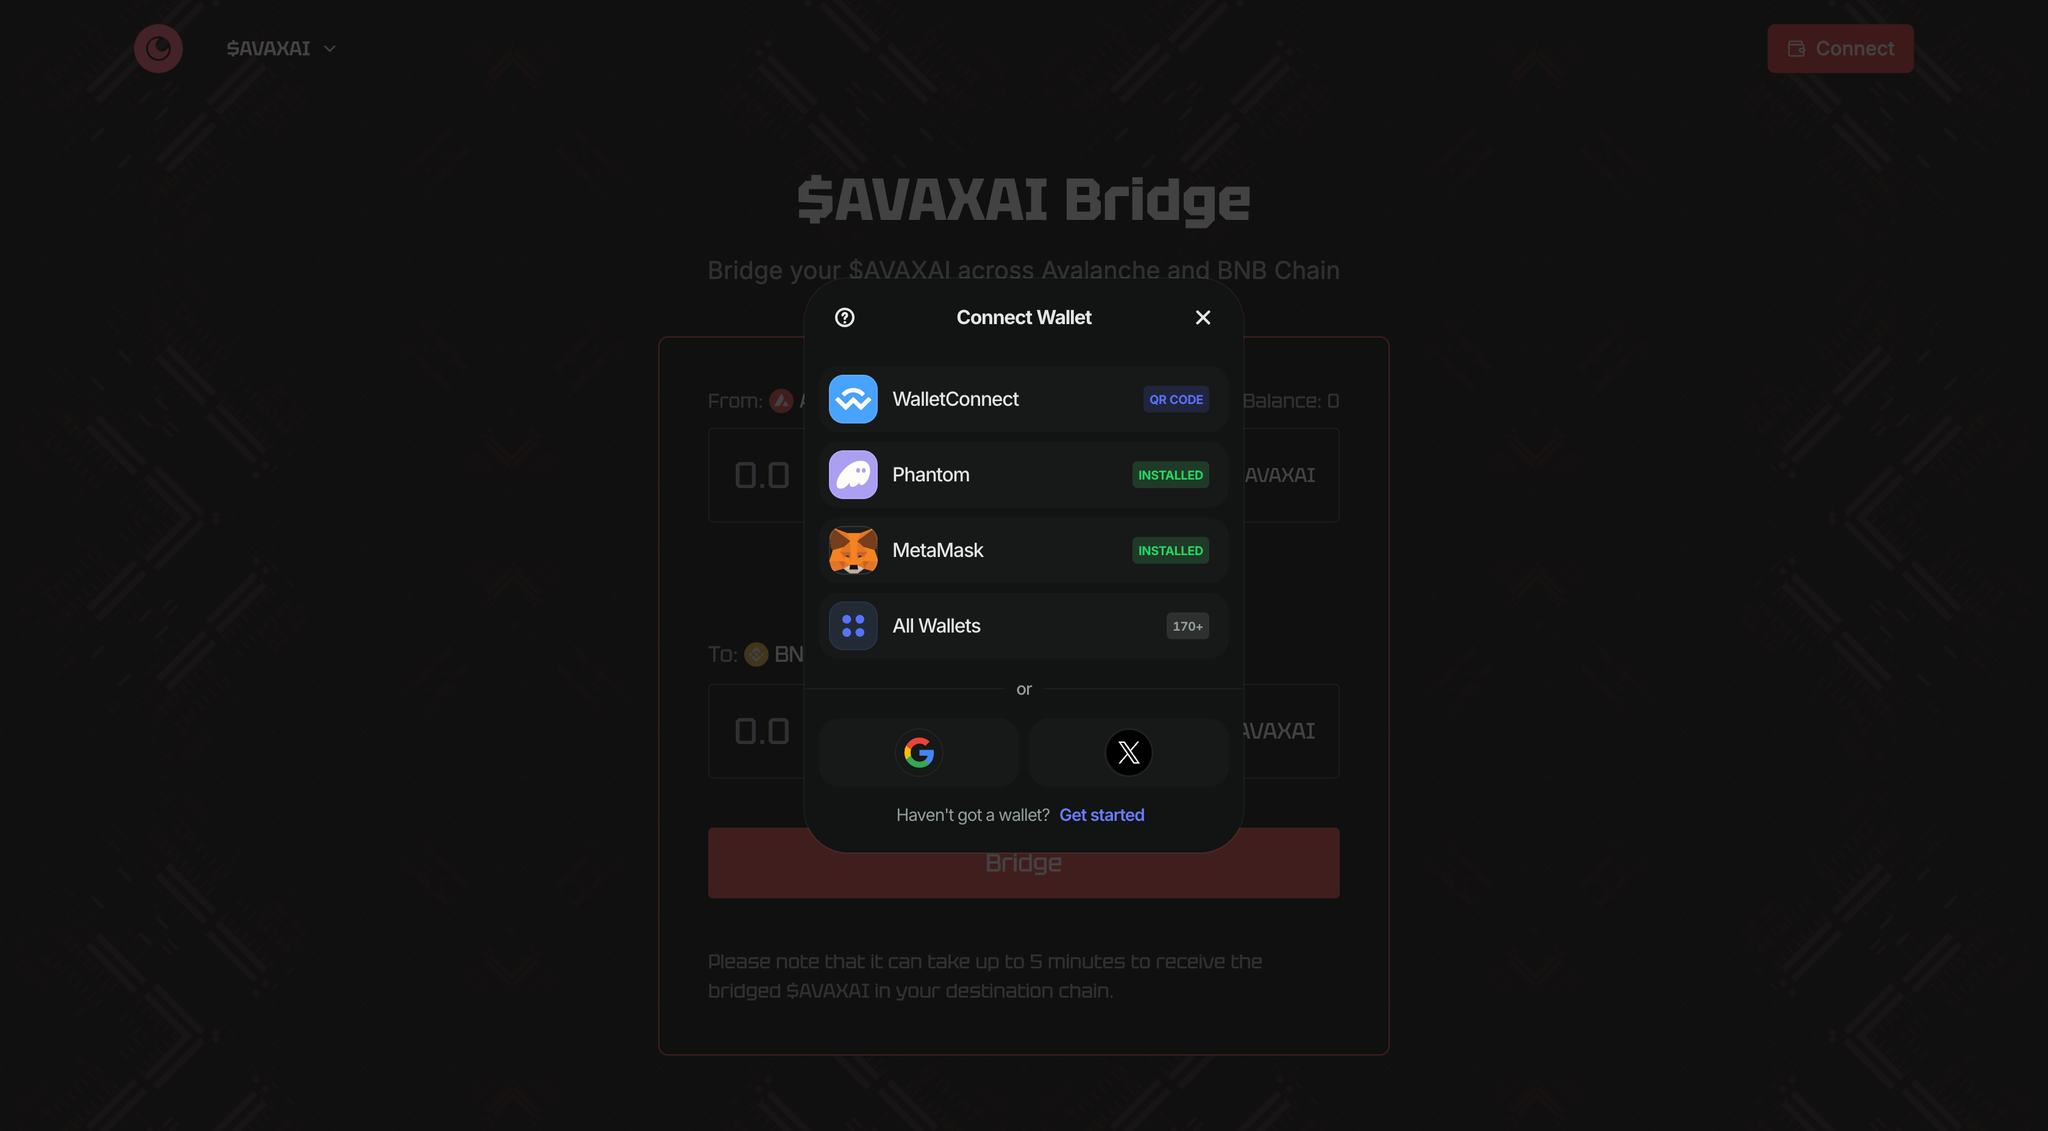
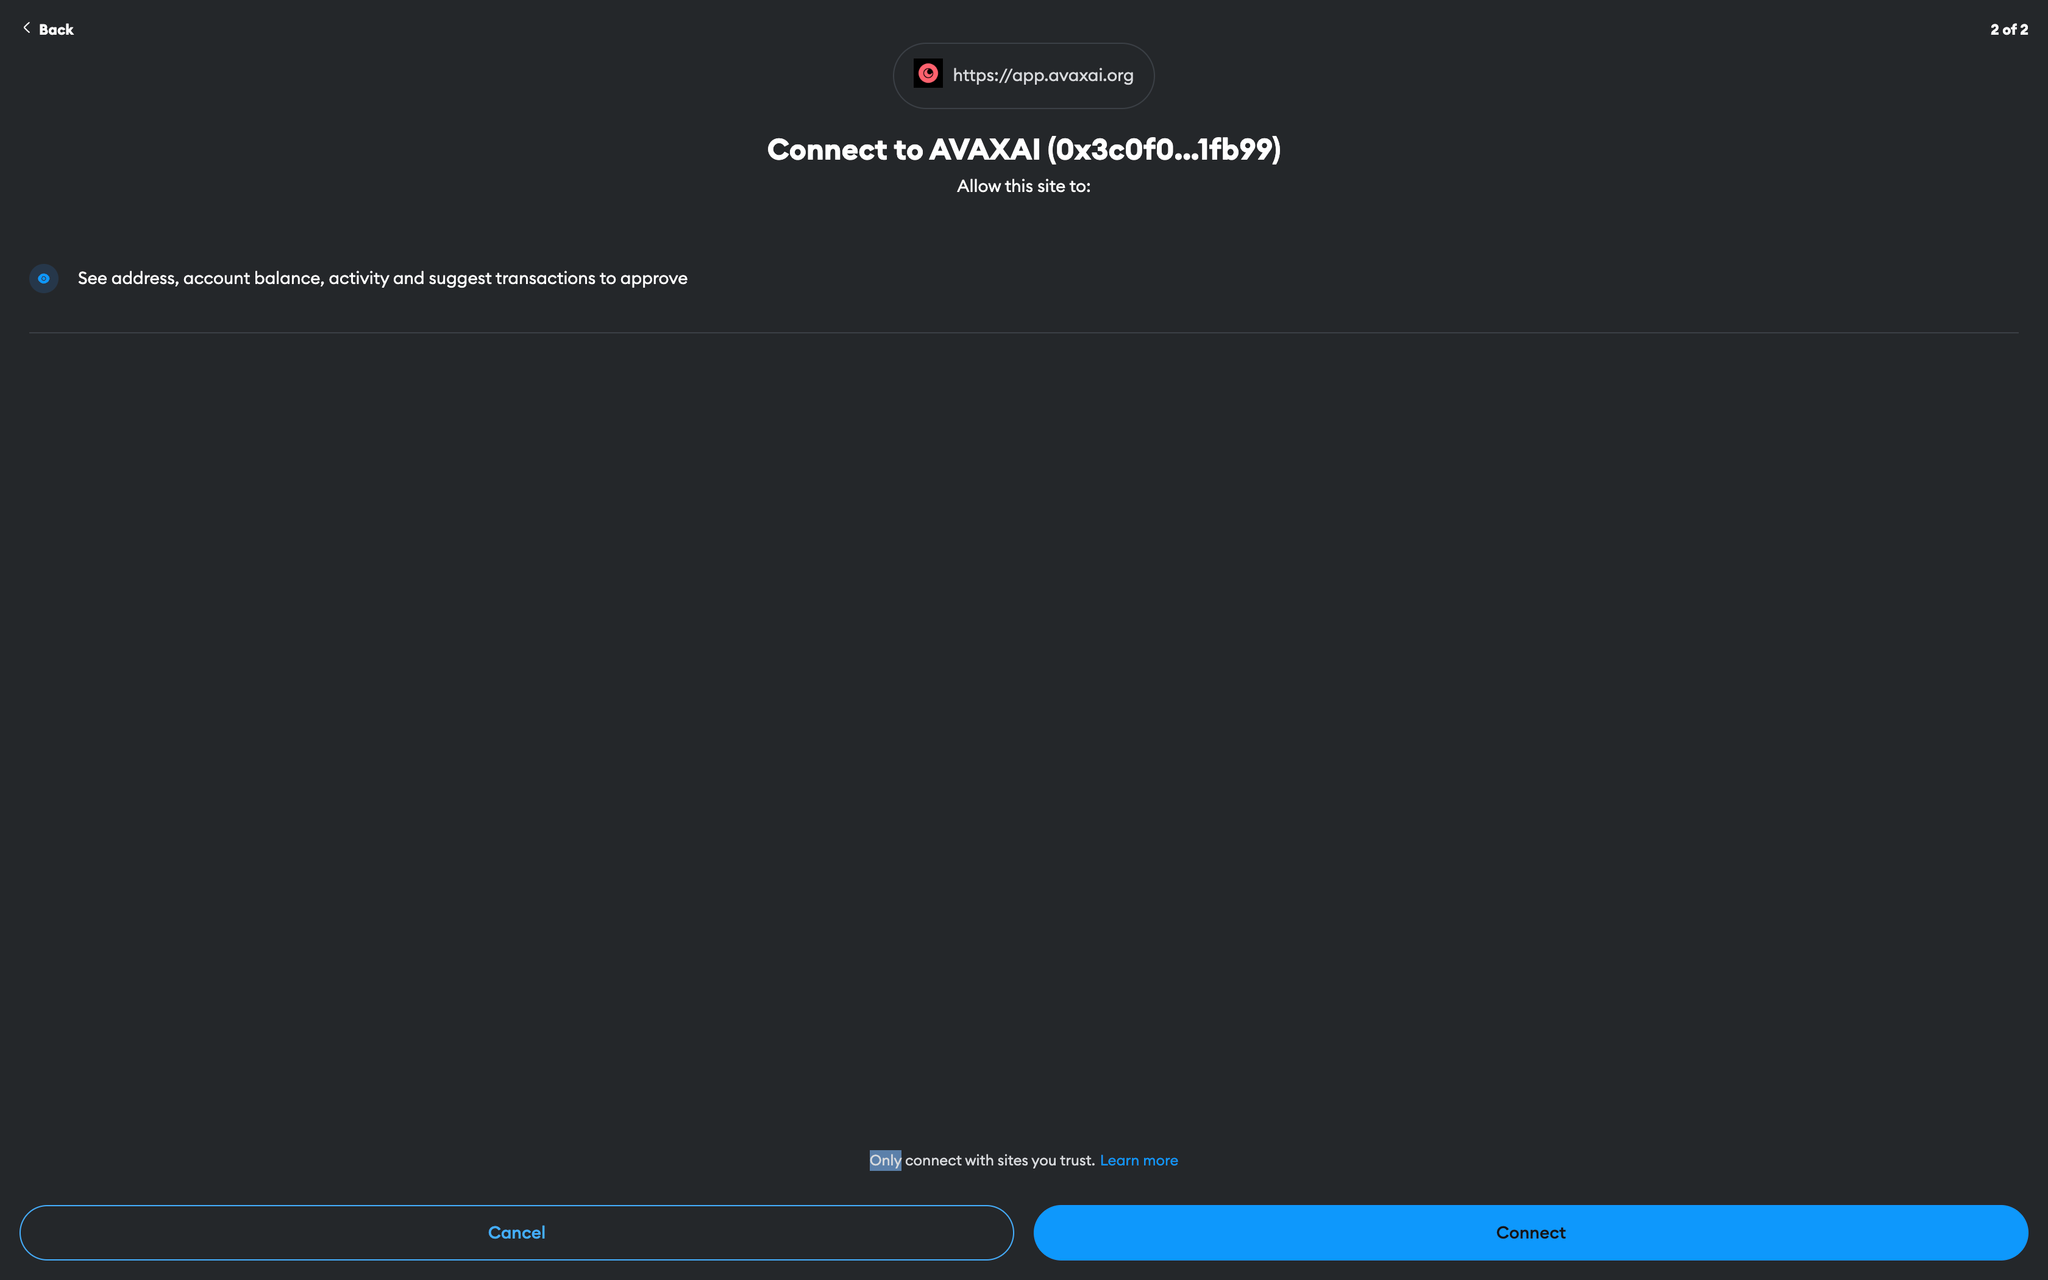
This will prompt you to connect the wallet of your choice. Once selected, log into your wallet and approve the relevant transactions and signatures. Connecting your wallet should only allow the bridge to see your wallet address, account balance, activity and suggest transactions to approve. An example of the wallet screen on Metamask is provided here:
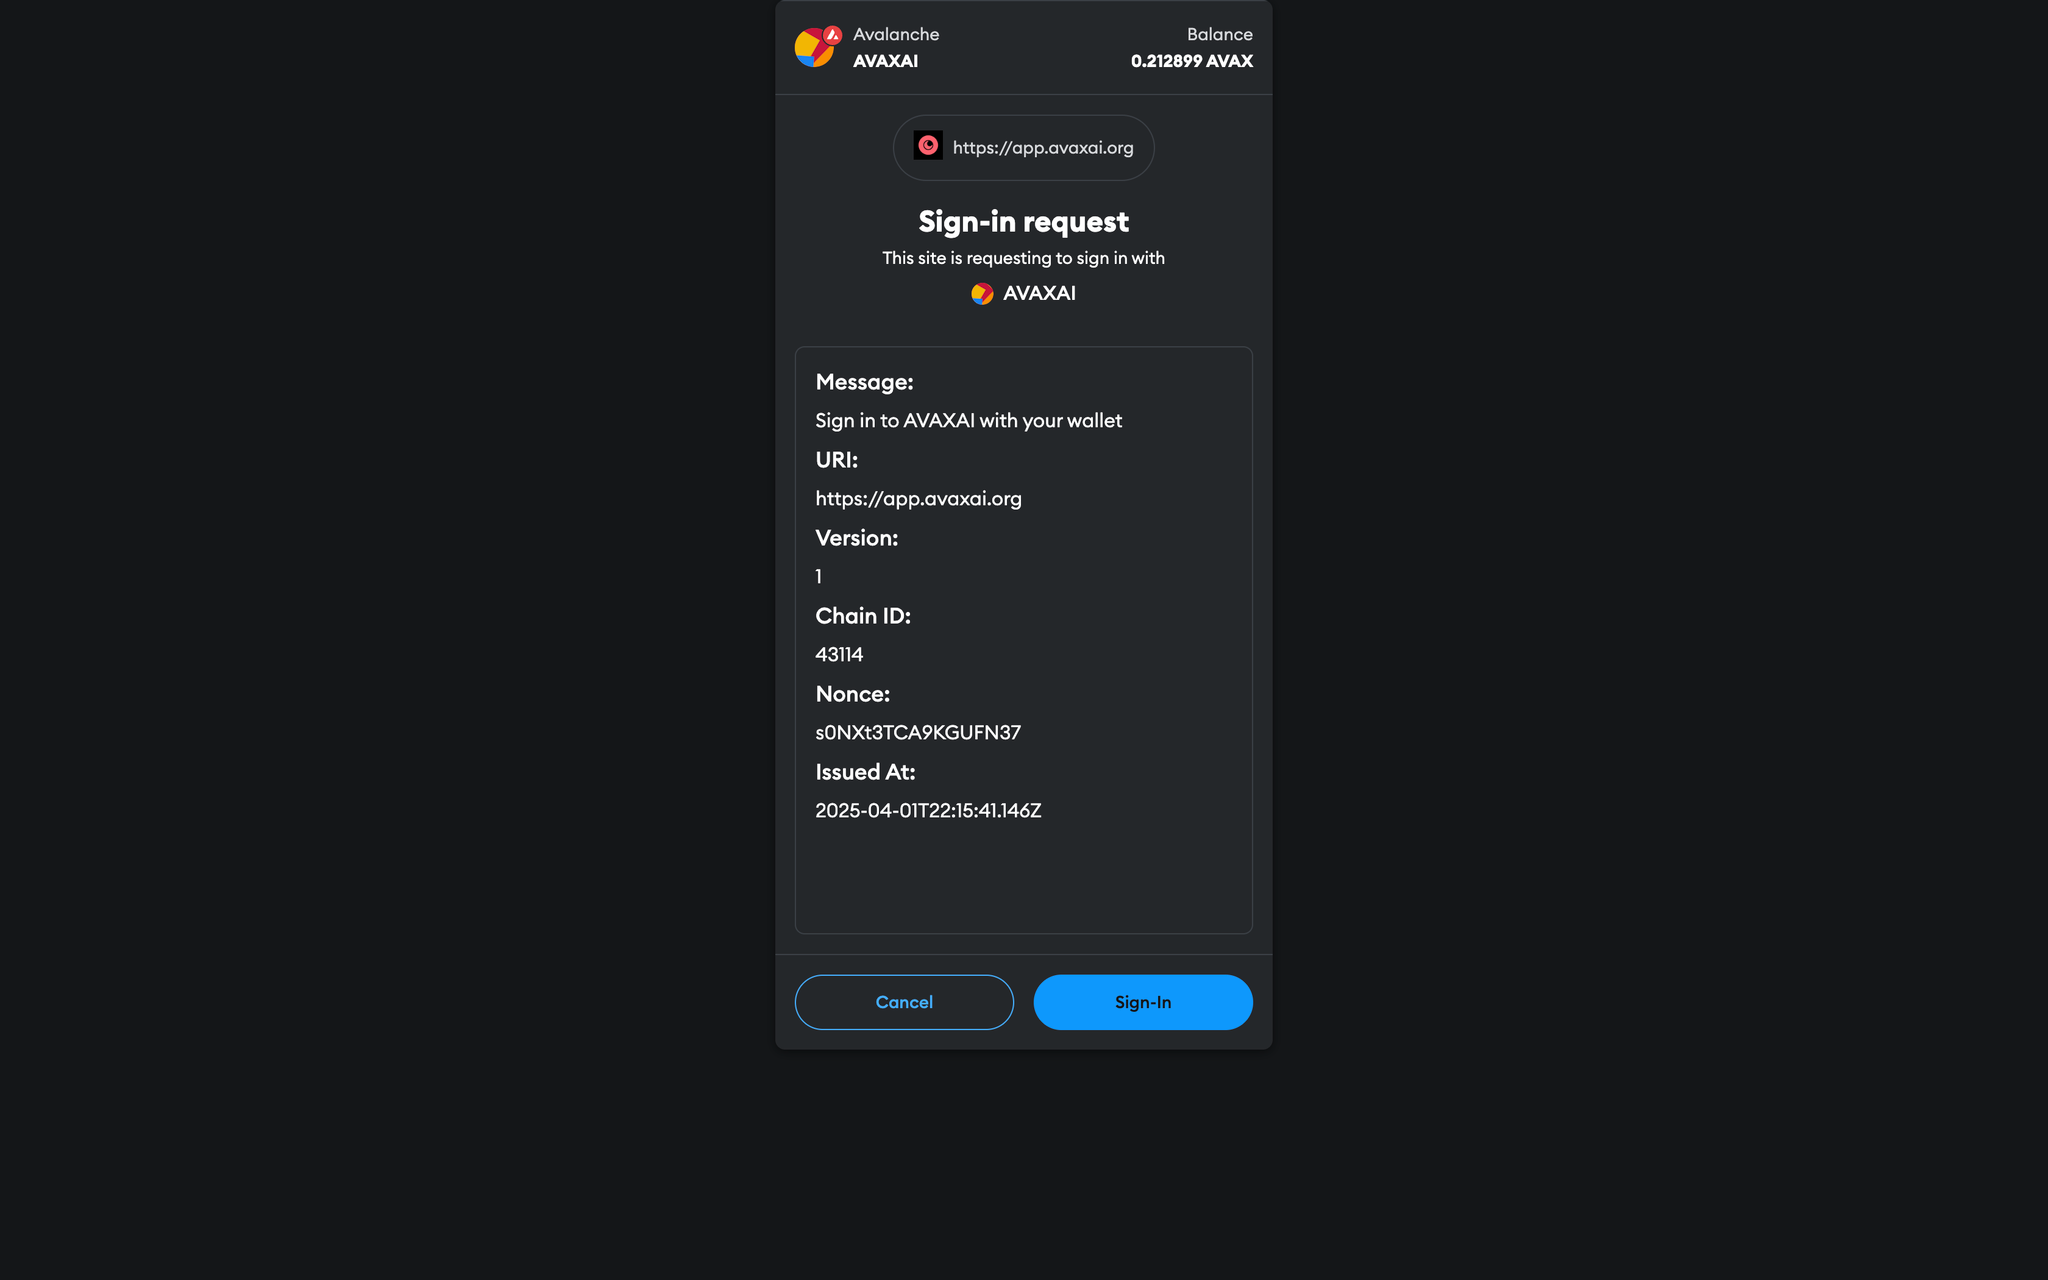
Once you click on connect, AVAXAI will prompt you to sign the message proving that you own the wallet.
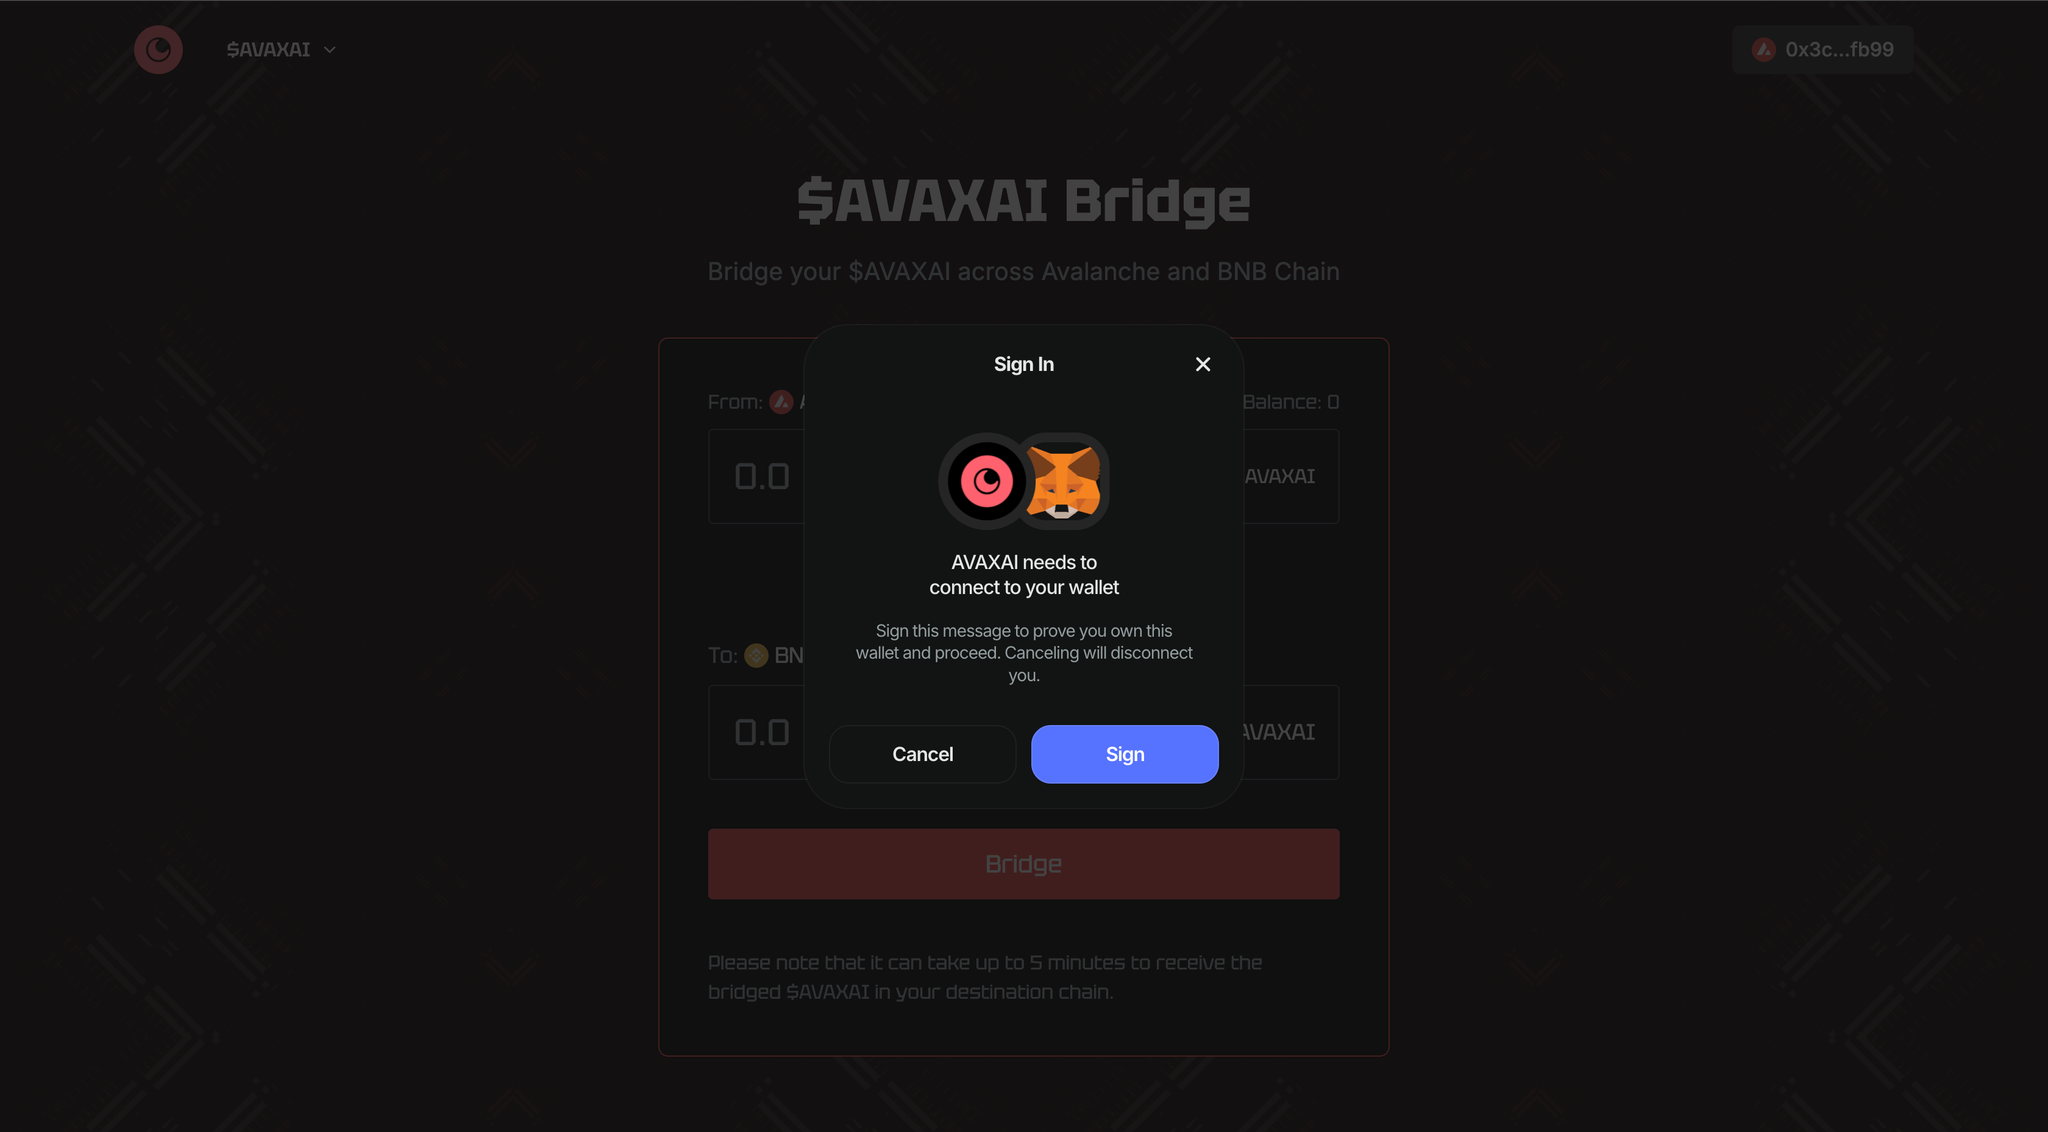
Once you click sign, a window will pop up on your wallet prompting you to sign-in
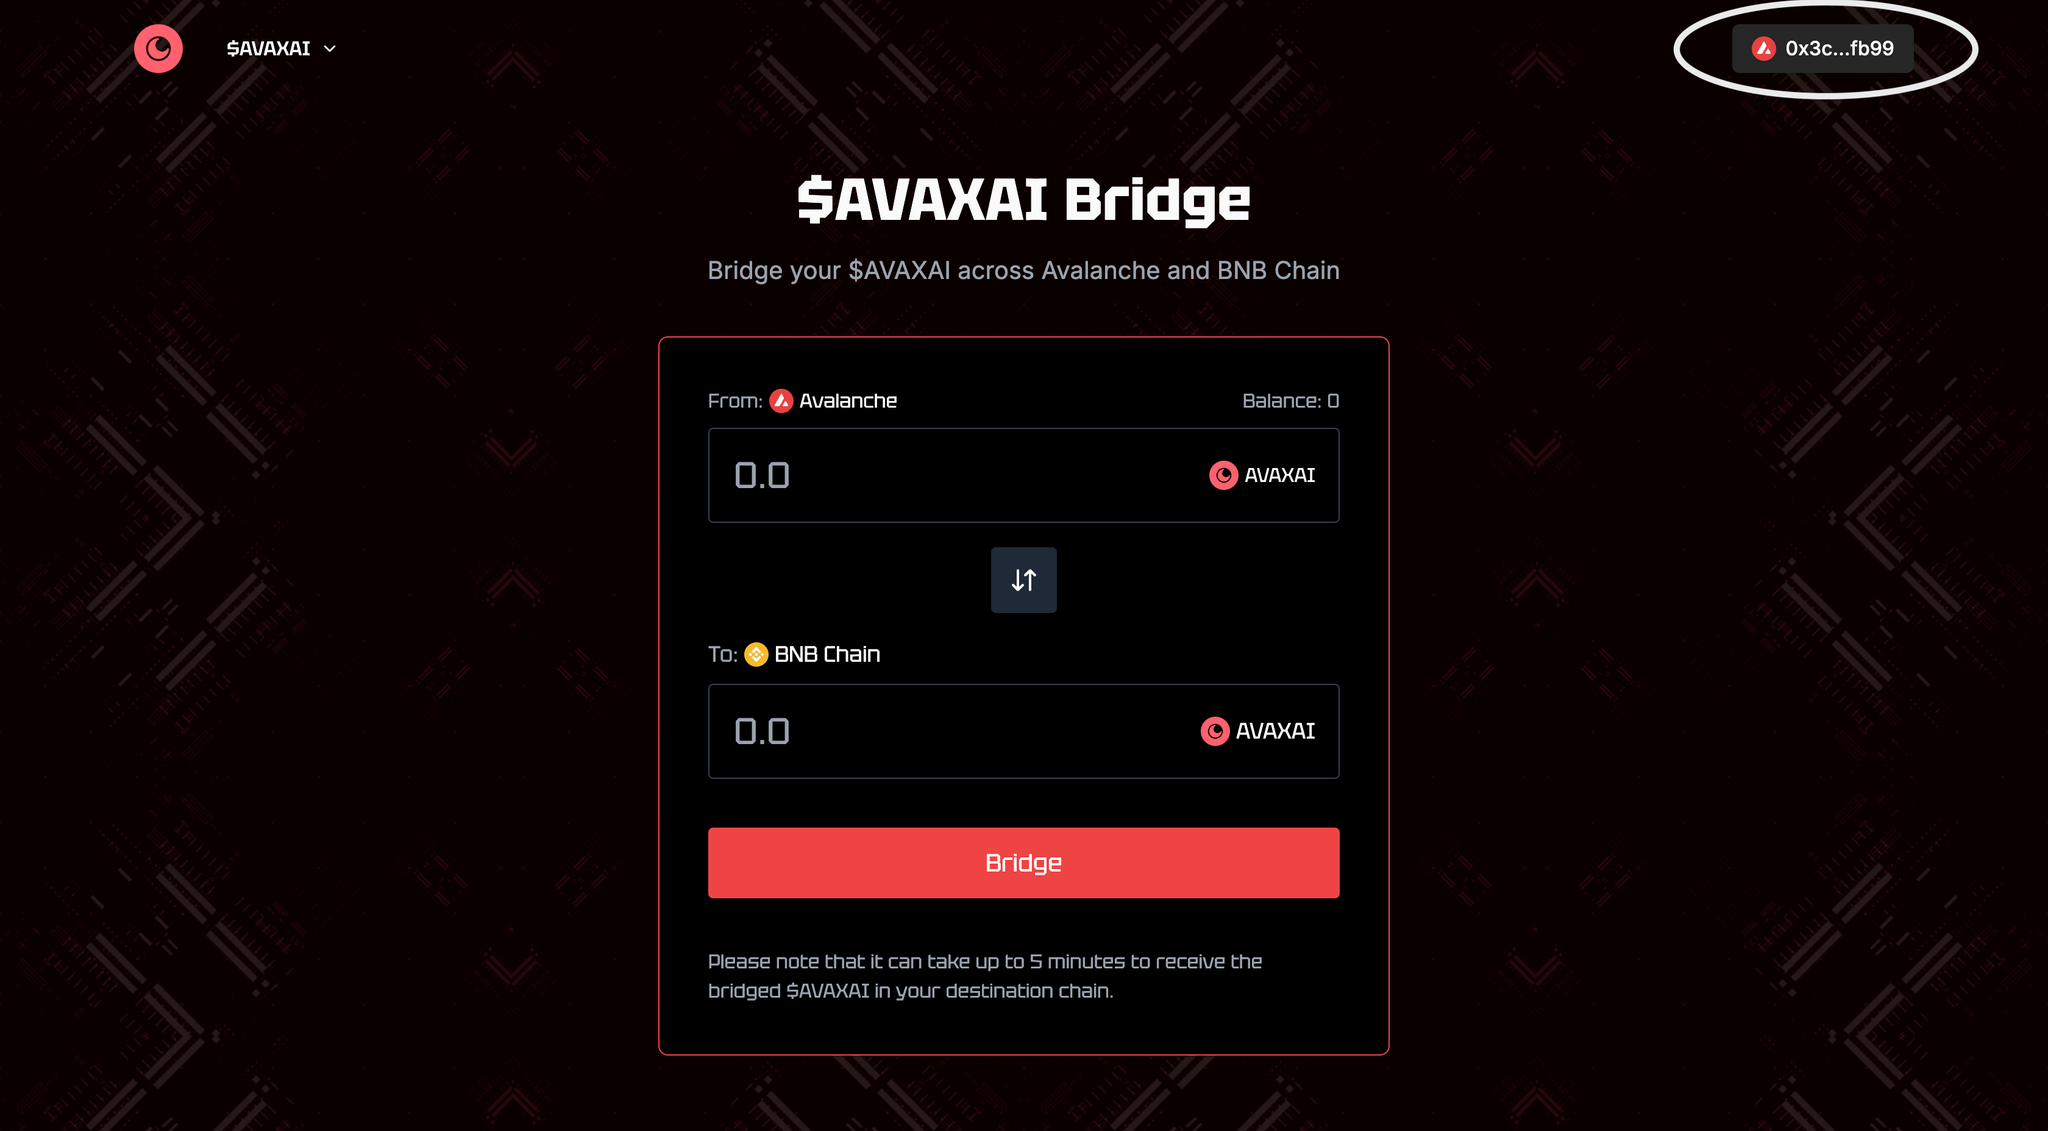
Once you’ve signed in, you will be returned to the official bridging page. Now, instead of connect wallet at the top right hand side of the screen, you should see the wallet address of the wallet you connected as shown in the next picture circled in white.
Step 3: Bridging $AVAXAI
Now that you have your wallet connected, you can now beging to bridge your $AVAXAI.
By default, the bridge is set to transfer from AVAX to BNB. However, you can switch to BNB → AVAX by clicking the button outlined in white.
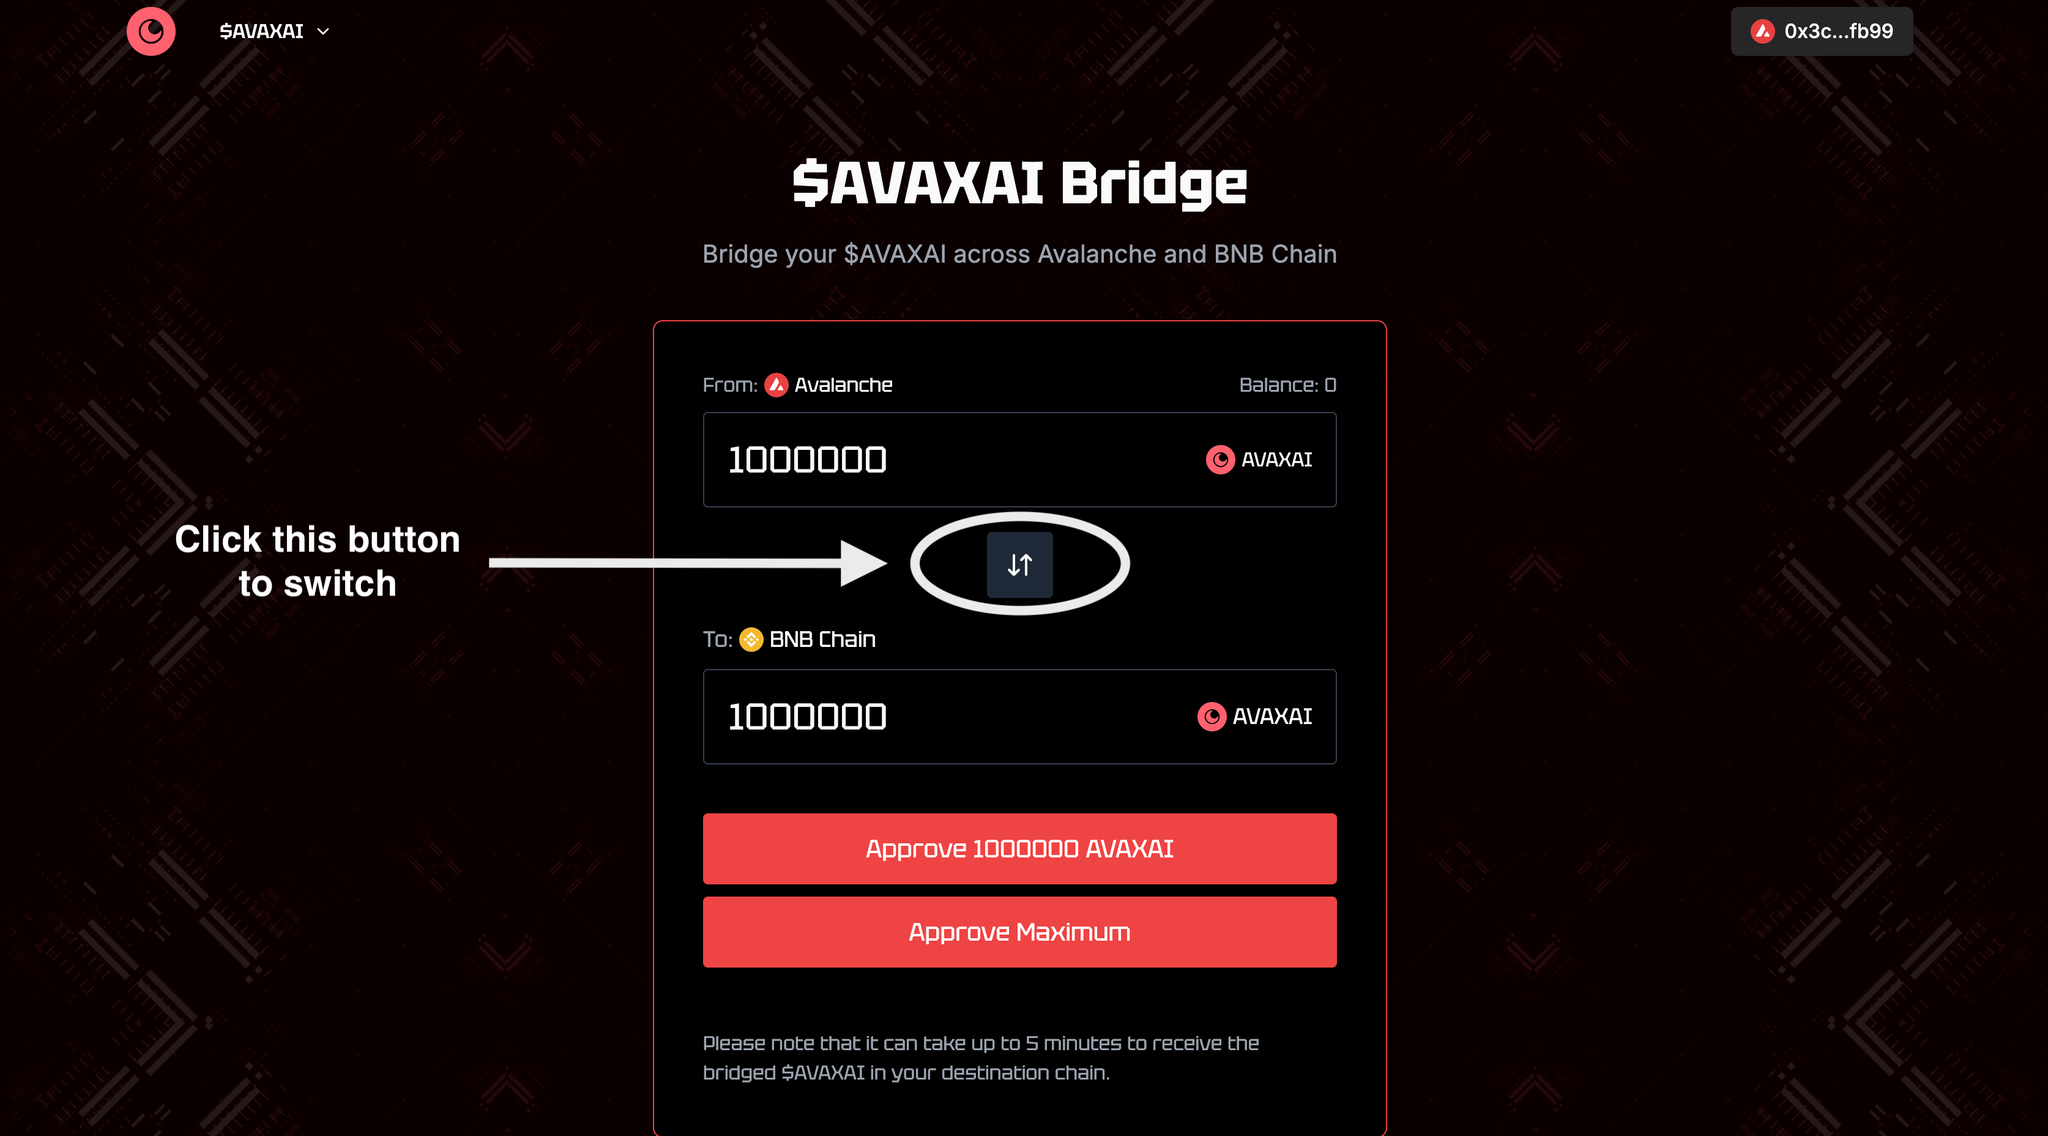
Once you’ve selected which way you wish to bridge the assets, simply enter the amount of tokens in the top bar the equivalent will be automatically reflected on the bottom.
Click on approve and a popup should appear on the wallet of your choice
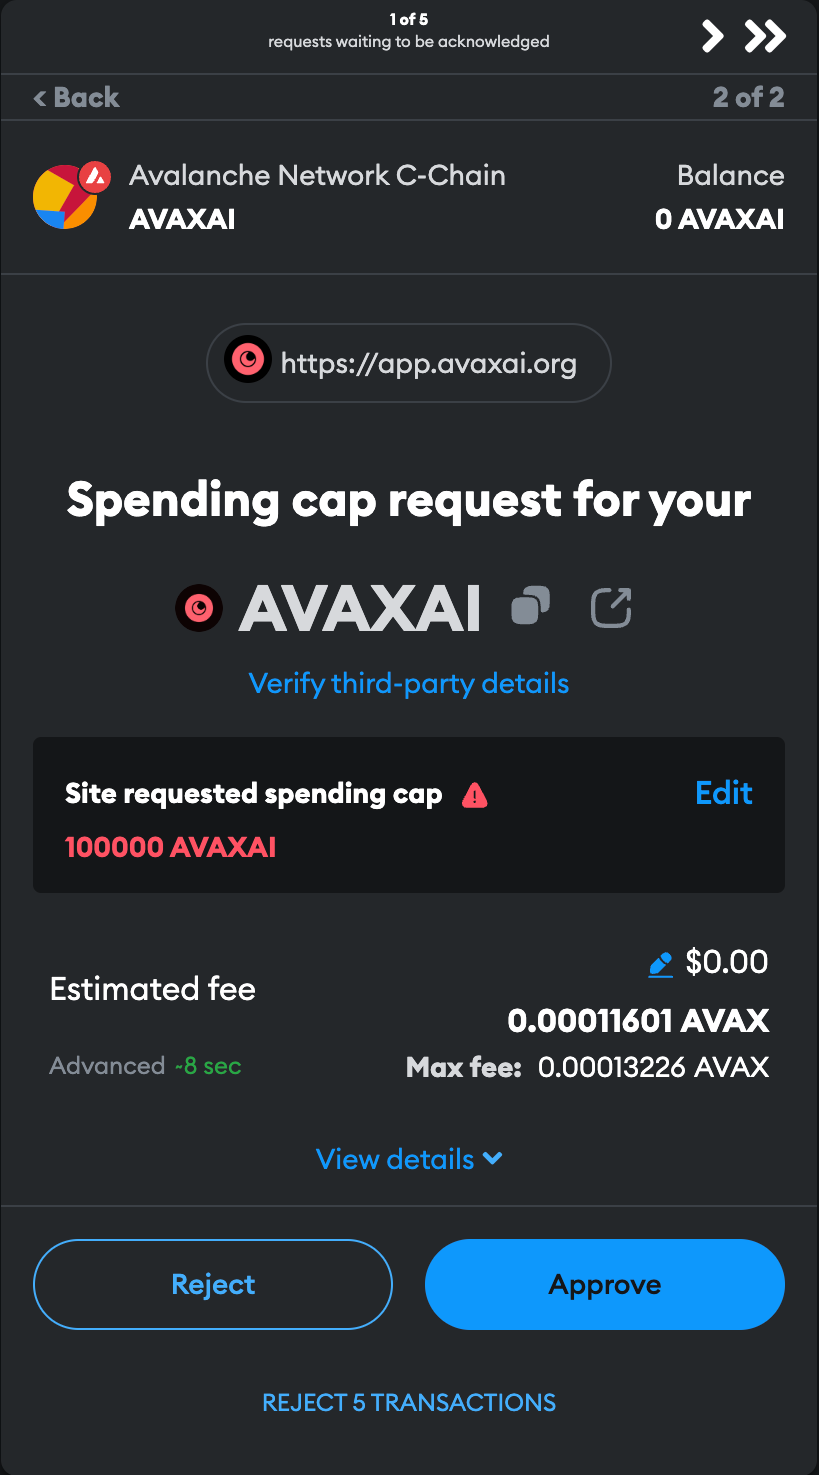
Click on approve here as well and once the transaction goes through, you would have successfully bridged your $AVAXAI.